15. Plota in Claude and other AI agents (MCP)
The Plota MCP server gives an AI agent — Claude Desktop, Claude Code, or any client that speaks the Model Context Protocol — the same engine as the editor. Ask for a diagram in plain words or paste Mermaid; the agent builds it, checks its readability and hands you an SVG plus an editable Plota JSON file you can open in the editor.
Connect to the hosted server#
| Endpoint | https://mcp.plota.live/mcp (streamable HTTP) |
| Authentication | A Plota token, sent as Authorization: Bearer <token> |
The hosted server needs a token; ask the Plota team for one. With your token you can sign in to the token portal at mcp.plota.live/tokens to see its usage, rotate it, and get the agent skills. Treat the token like a password: keep it out of files you commit and out of shared screenshots.
Claude Code#
claude mcp add --transport http plota https://mcp.plota.live/mcp \
  --header "Authorization: Bearer $PLOTA_TOKEN"
Claude Desktop (and claude.ai)#
Settings → Connectors → Add custom connector, with the URL:
https://mcp.plota.live/mcp?token=<your token>
The connector form takes a URL only, so the token rides in the query string — the server accepts it there for exactly this case. Anyone who sees that URL can use your token; rotate it in the portal if it leaks.
Other clients#
Most clients take a mcpServers entry with a URL and headers:
{
  "mcpServers": {
    "plota": {
      "url": "https://mcp.plota.live/mcp",
      "headers": { "Authorization": "Bearer ${PLOTA_TOKEN}" }
    }
  }
}
Whether ${PLOTA_TOKEN} is read from the environment depends on the client;
check its documentation — VS Code, Cursor, the OpenAI Agents SDK and others
each spell the URL and header fields slightly differently.
MCP tools at a glance#
To keep each conversation cheap, the server lists a compact set of tools and keeps the rest one step away:
| Group | Tools |
|---|---|
| Build in one call | render_diagram (Mermaid → drawing), create_architecture_spec (cloud architecture), create_from_spec, diagram_from_text, import_mermaid, import_mermaid_views (overview + detail pages), import_diagram, build_cloud_architecture, build_erd |
| Edit | add_node, update_node, connect, apply_batch (many edits as one step), undo, auto_layout |
| Check | describe_diagram, review_diagram (the readability score and what to fix), apply_critique_fix |
| Deliver | export_diagram — svg, png, pdf, json, drawio or mermaid |
| Find | search_icons |
| Everything else | search_tools (find a tool by what you want to do), describe_tool (its full arguments), call_tool (call any tool by name) |
Every other tool — styling, ERD and table editing, layers, find-and-replace and
more — is reached through search_tools → call_tool; describe_tool shows
any tool's arguments.
run_script is local only. When the server runs on your own machine an
agent can also run a short script that makes many tool calls in one step. The
hosted server at mcp.plota.live does not offer it; agents there use
apply_batch for multi-step edits instead, which the bundled skills already do.
Replies are kept small on purpose: a render returns the readability verdict and the file's size, not the SVG markup, unless the agent asks for it.
Icons, service tiles and notes#
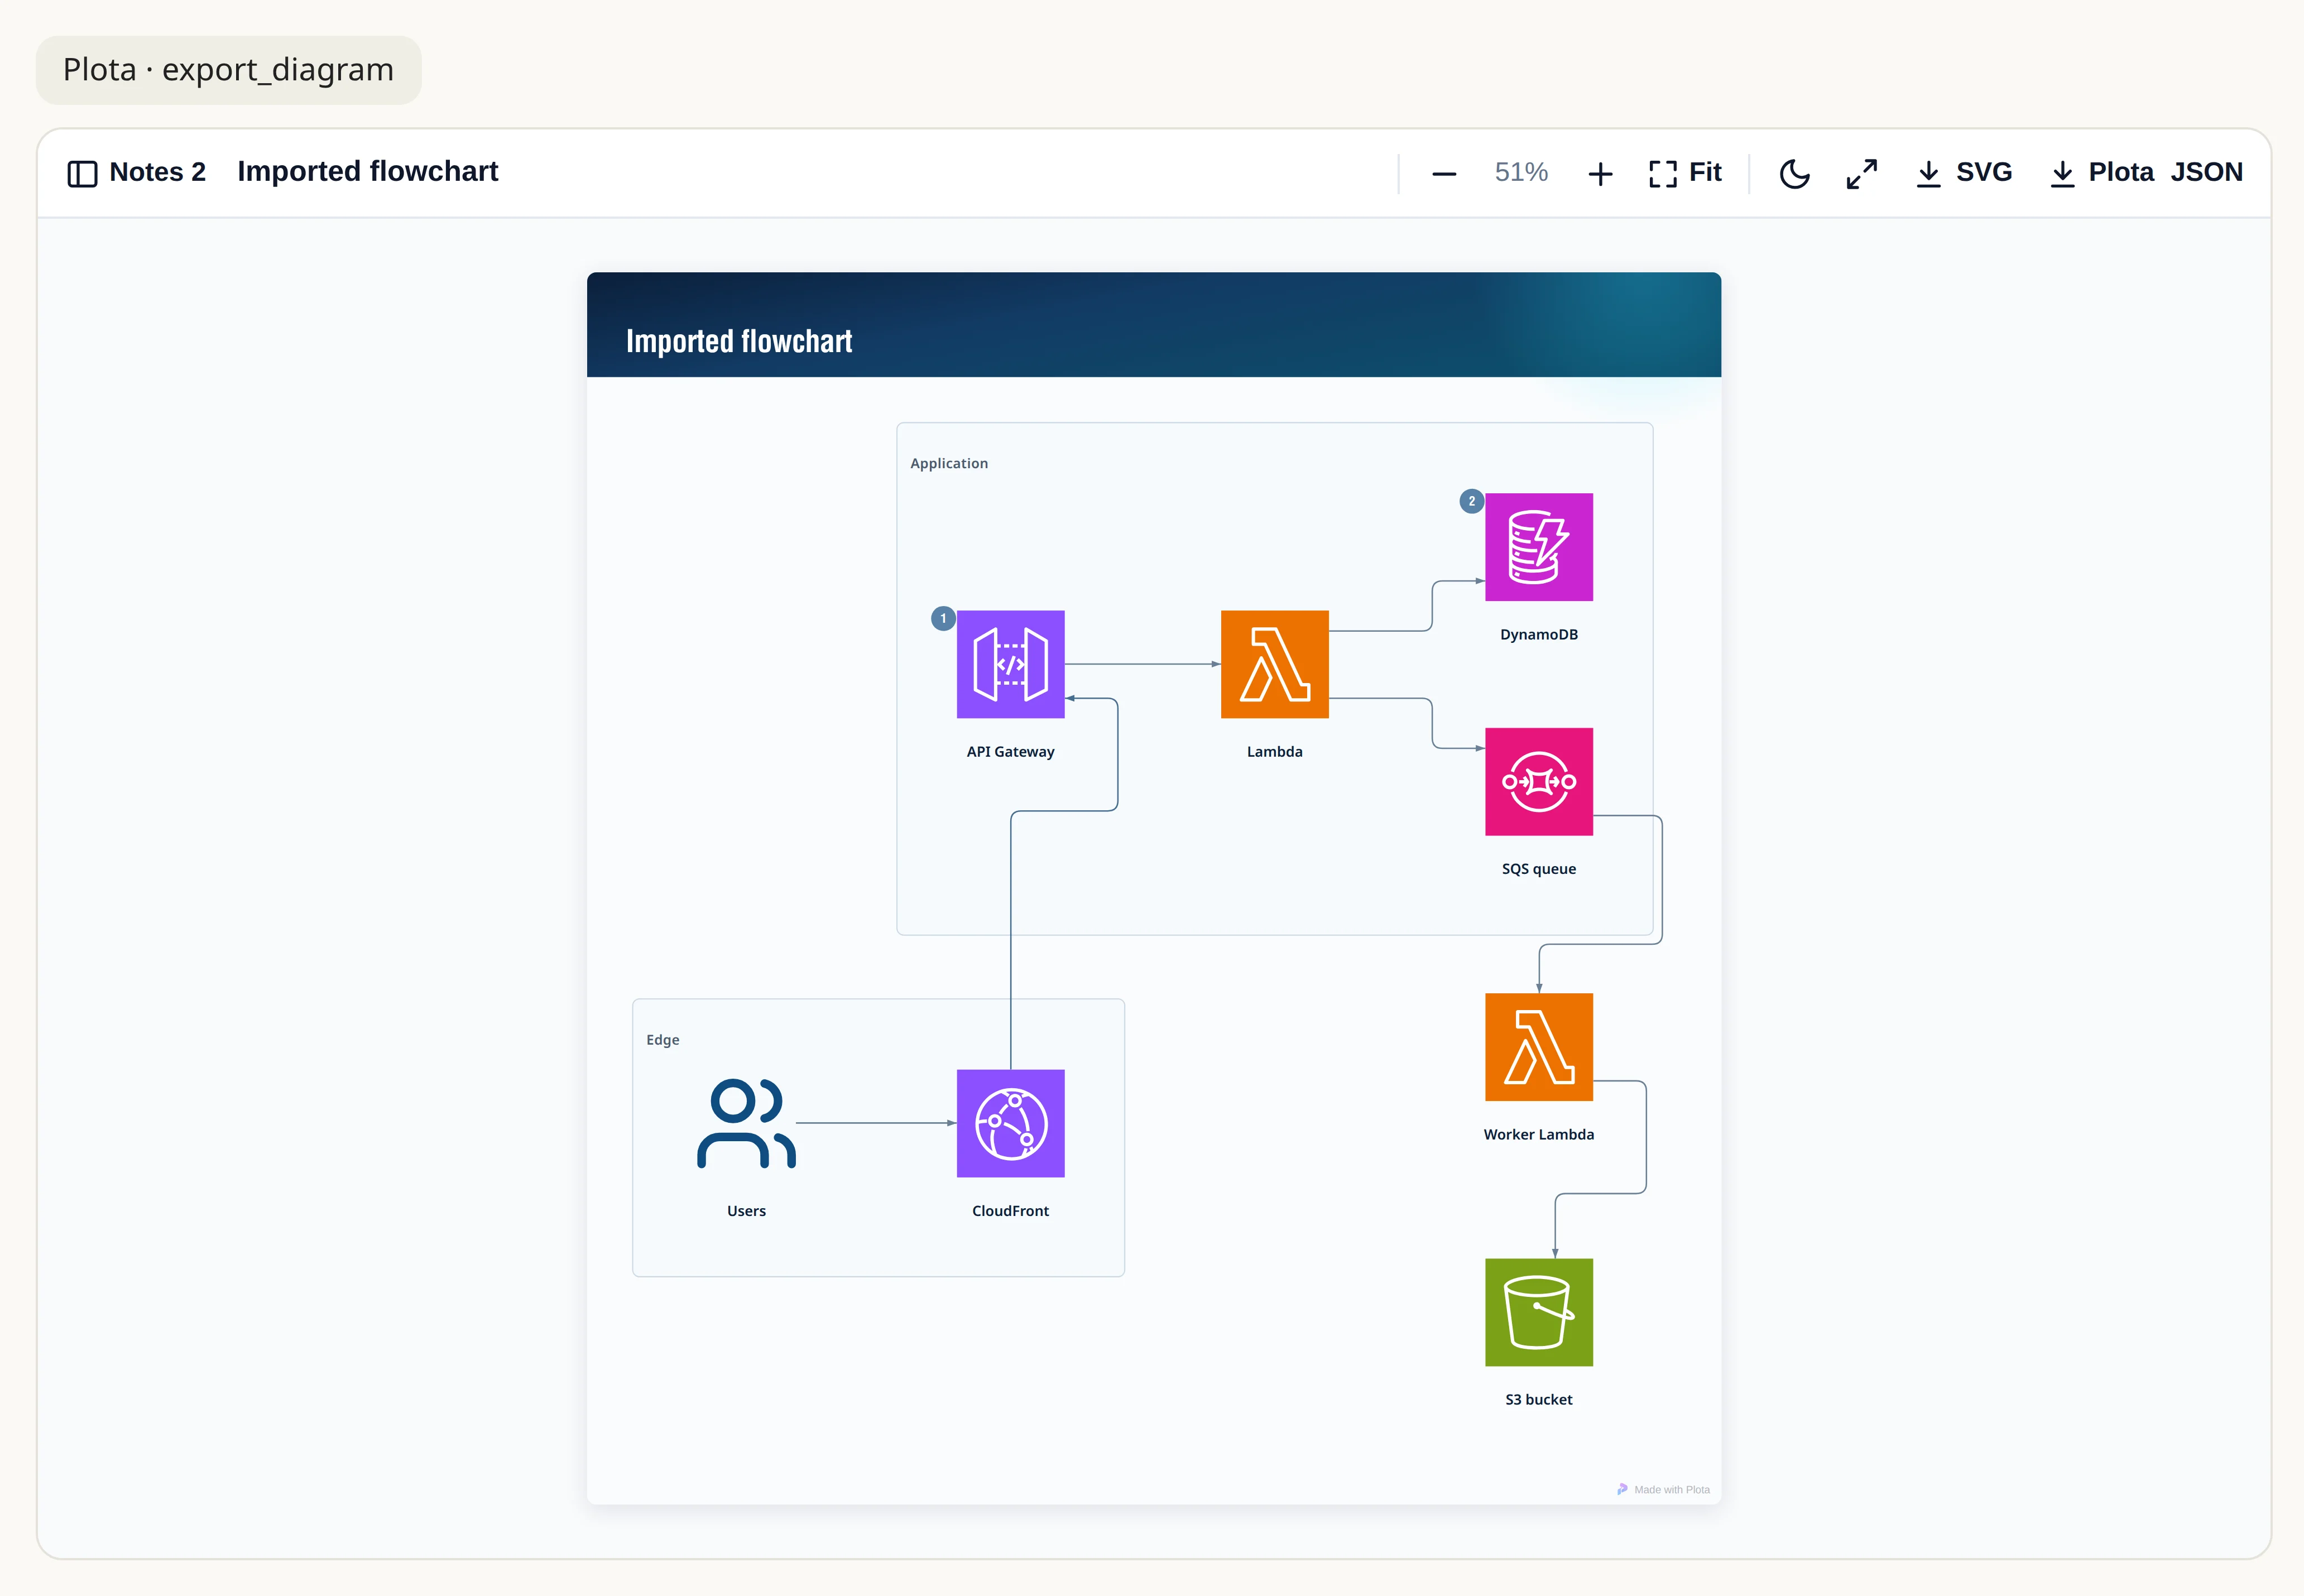
The builders apply icons by default: a node naming a cloud service becomes that
service's tile, and a node naming another product gets its icon beside the
label (icons: false turns this off). A note (or a list of notes) on a node is shown as a
numbered marker with its full text in the notes panel — see
Icons and service tiles and
Notes and badges.
The viewer#
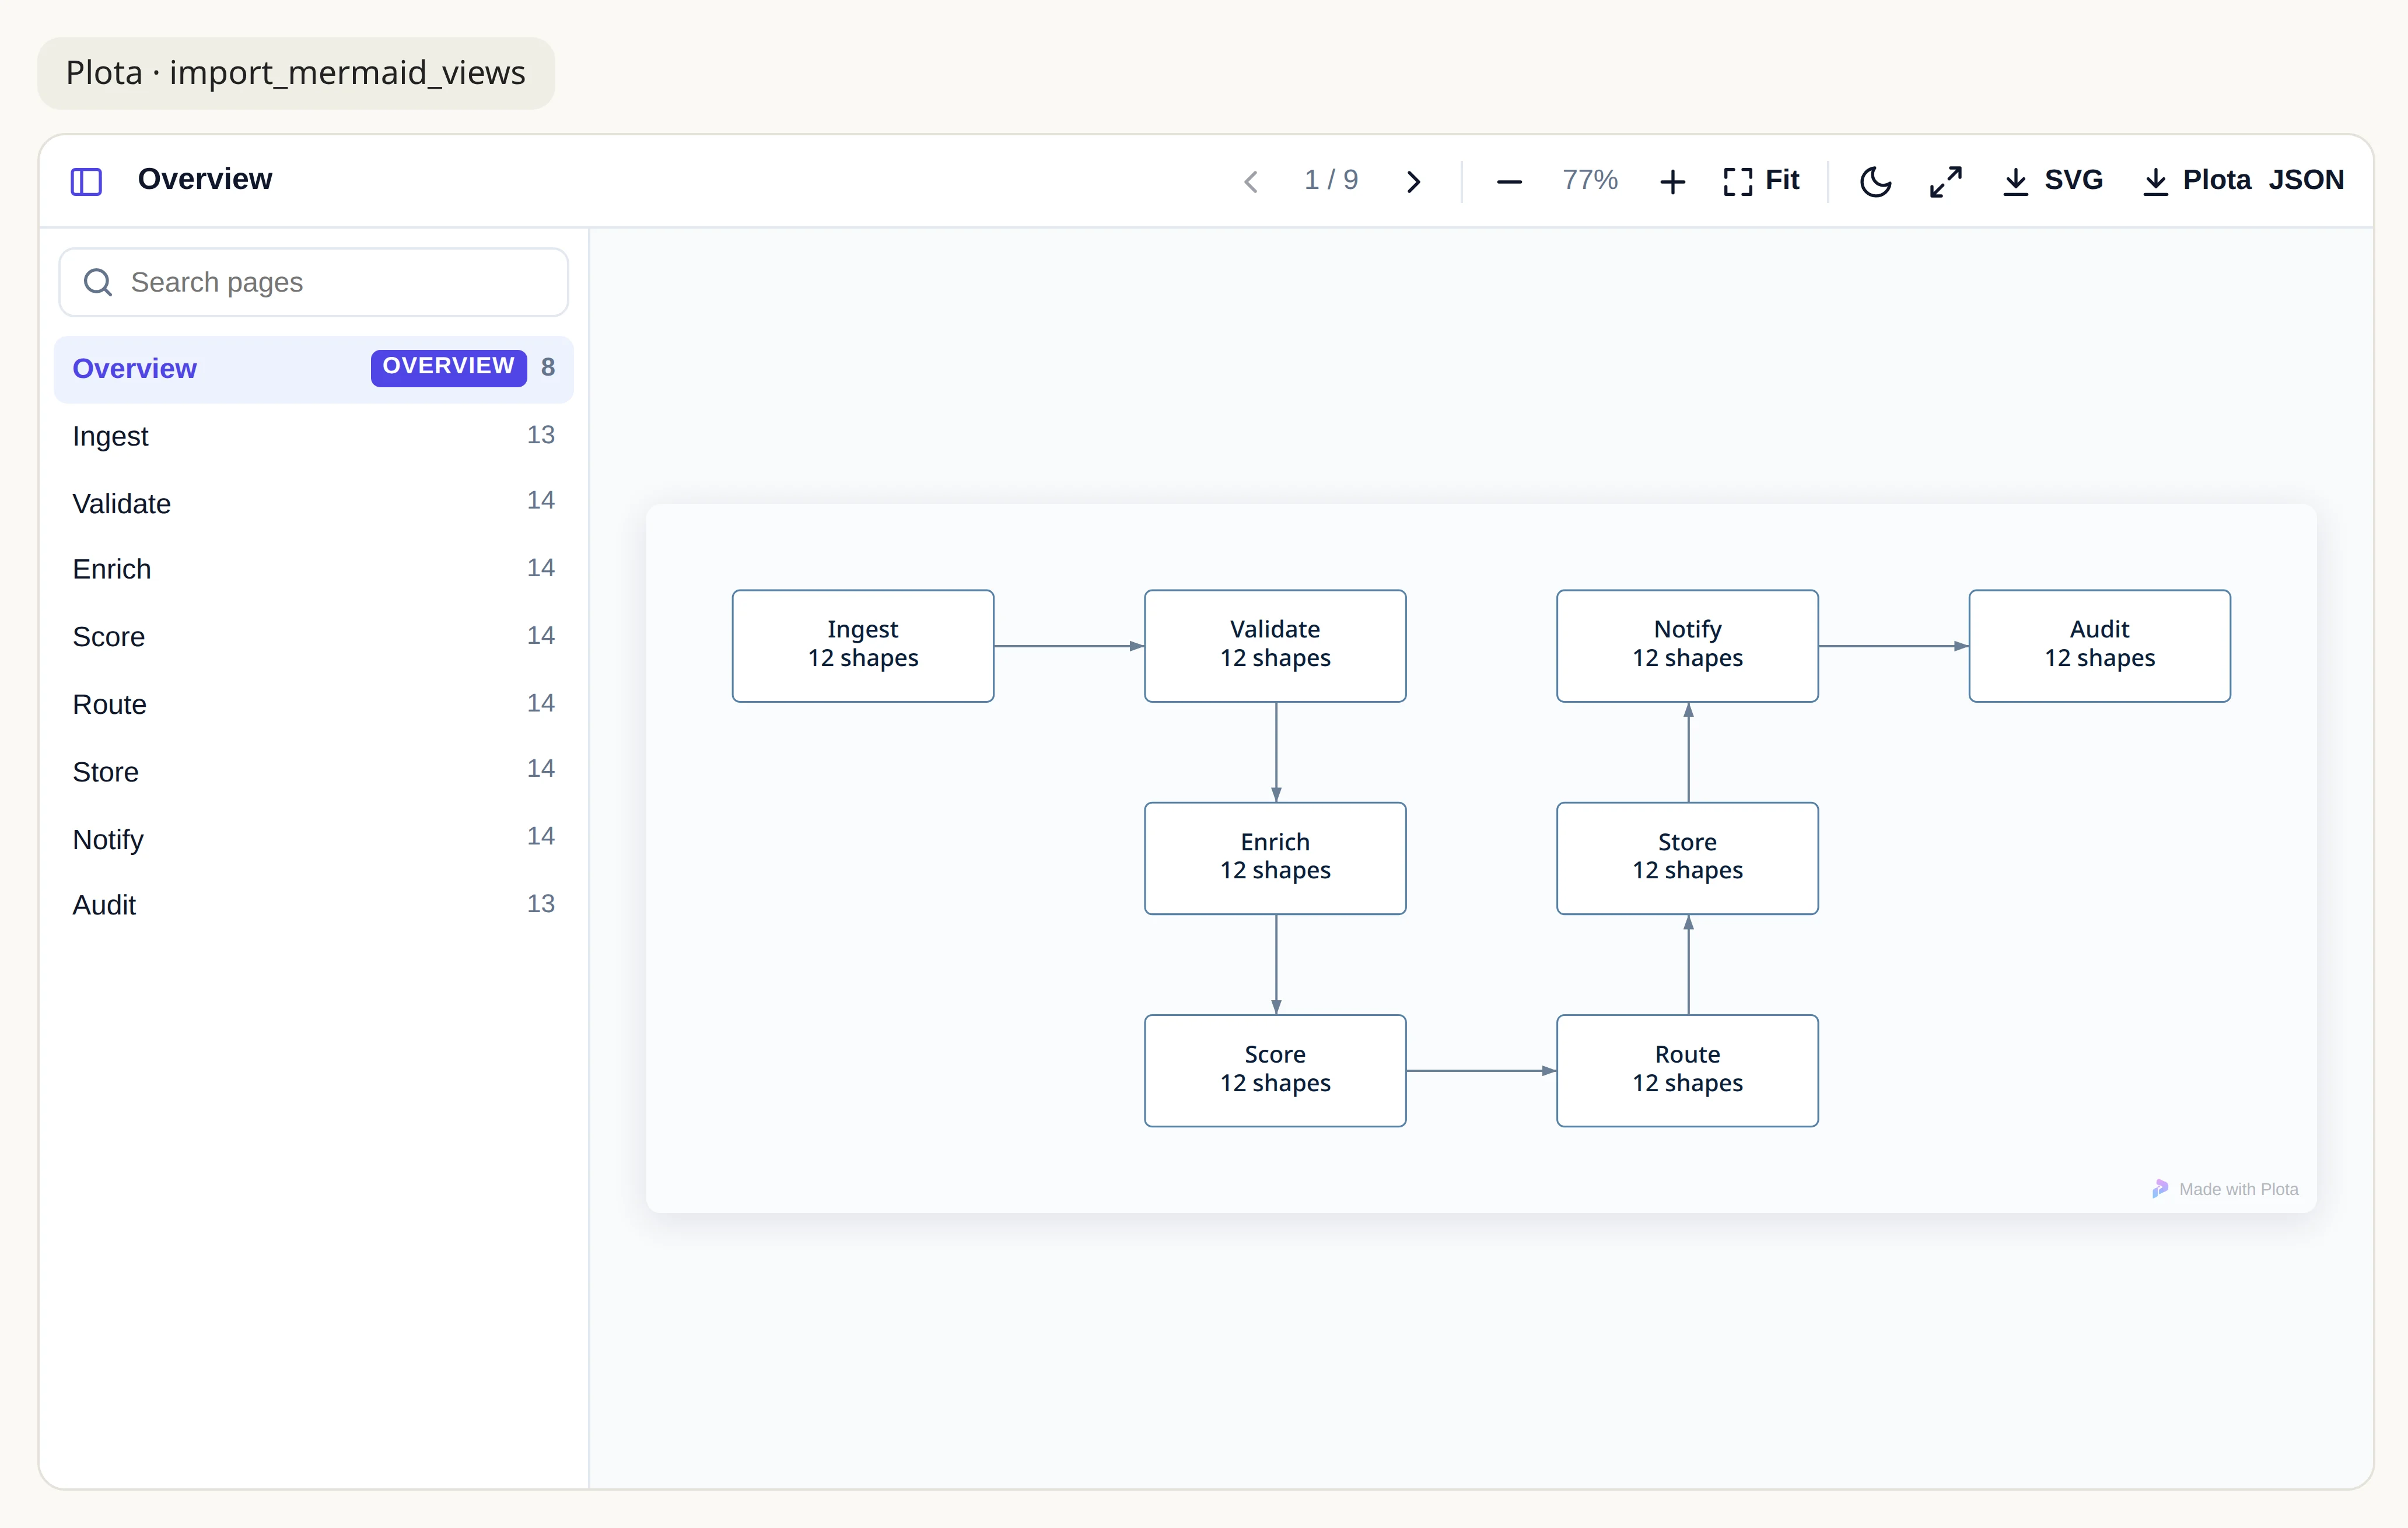
In hosts that support MCP Apps (Claude, for one), the visual tools —
render_diagram, import_mermaid, import_mermaid_views and
export_diagram — open the Plota viewer right in the conversation:
- Pages — a multi-page document opens with a page sidebar (search by name,
the shape count per page, the overview page first).
‹ ›or the arrow keys move between pages. - Zoom —
−/+, the mouse wheel, pinch, drag to pan; Fit shows the whole page. - Light / dark and fullscreen (where the host allows it).
- Notes n opens the list of the page's numbered notes.
- SVG ↓ downloads the page you are looking at; Plota JSON ↓ downloads
the whole editable document (up to 4 MB — past that the viewer says so and
the agent can export it with
export_diagram). Open the JSON in the editor with Import Diagram.
Neither download costs a tool call or any model tokens.
Without a viewer, ask the agent to export: over the hosted server each exported file comes back as a download link that is valid for 30 minutes.
Exports and the watermark#
SVG, PNG and PDF exports carry a small "Made with Plota" mark in the corner;
export_diagram takes plotaWatermark: false to leave it out. PNG and PDF are
made with a browser on the server — if one is not available, the tool says so
and offers SVG.
Agent skills#
Two Agent Skills teach an agent to use Plota in as few calls and tokens as possible:
| Skill | For |
|---|---|
plota-diagramming | Any diagram: Mermaid of every supported type, flowcharts, cloud architecture, sequence, ERD, state, class, C4, mind maps, timelines — built, checked once and delivered |
plota-aws-architecture-export | An AWS (or Azure / GCP) architecture in one call, with real service icons and the SVG and JSON exported together |
Install them from the server: the token portal's Download Skills gives a
terminal command that installs both, with their reference files, into
~/.claude/skills/. By hand, https://mcp.plota.live/skills lists every file of
each skill, and each one downloads with your token, for example:
mkdir -p ~/.claude/skills/plota-diagramming
curl -sSL -H "Authorization: Bearer $PLOTA_TOKEN" \
  https://mcp.plota.live/skills/plota-diagramming/SKILL.md \
  -o ~/.claude/skills/plota-diagramming/SKILL.md
Checking the result#
review_diagram returns the same readability score the editor's
Explain this layout shows
— lower is better — with the main problems and what would fix them. The skills
run it once after building and apply at most one fix, so a diagram is not
rebuilt over and over.